Listen to the article
9 Best Practices in Real Estate Photography
It’s never easy to do something completely new for the first time. Whether you’ve offered event photography or portraits or any other camera work in the past, professional real estate photography brings its own unique challenges. What kind of turnaround time are agents and landlords expecting? How many pictures do they need of every room, from the living room to the bathroom? We’ll answer these questions and many more in our guide with the 9 best practices in real estate photography.
1. Have a Shot List
You may be used to a more free-form photography session with other clients. But in professional real estate photography, it benefits you and the client to have a shot list. That way, expectations are clear for everyone involved. A typical shot list will include two photos of the front exterior, two of the rear exterior, and one or two pictures of each “key room”.
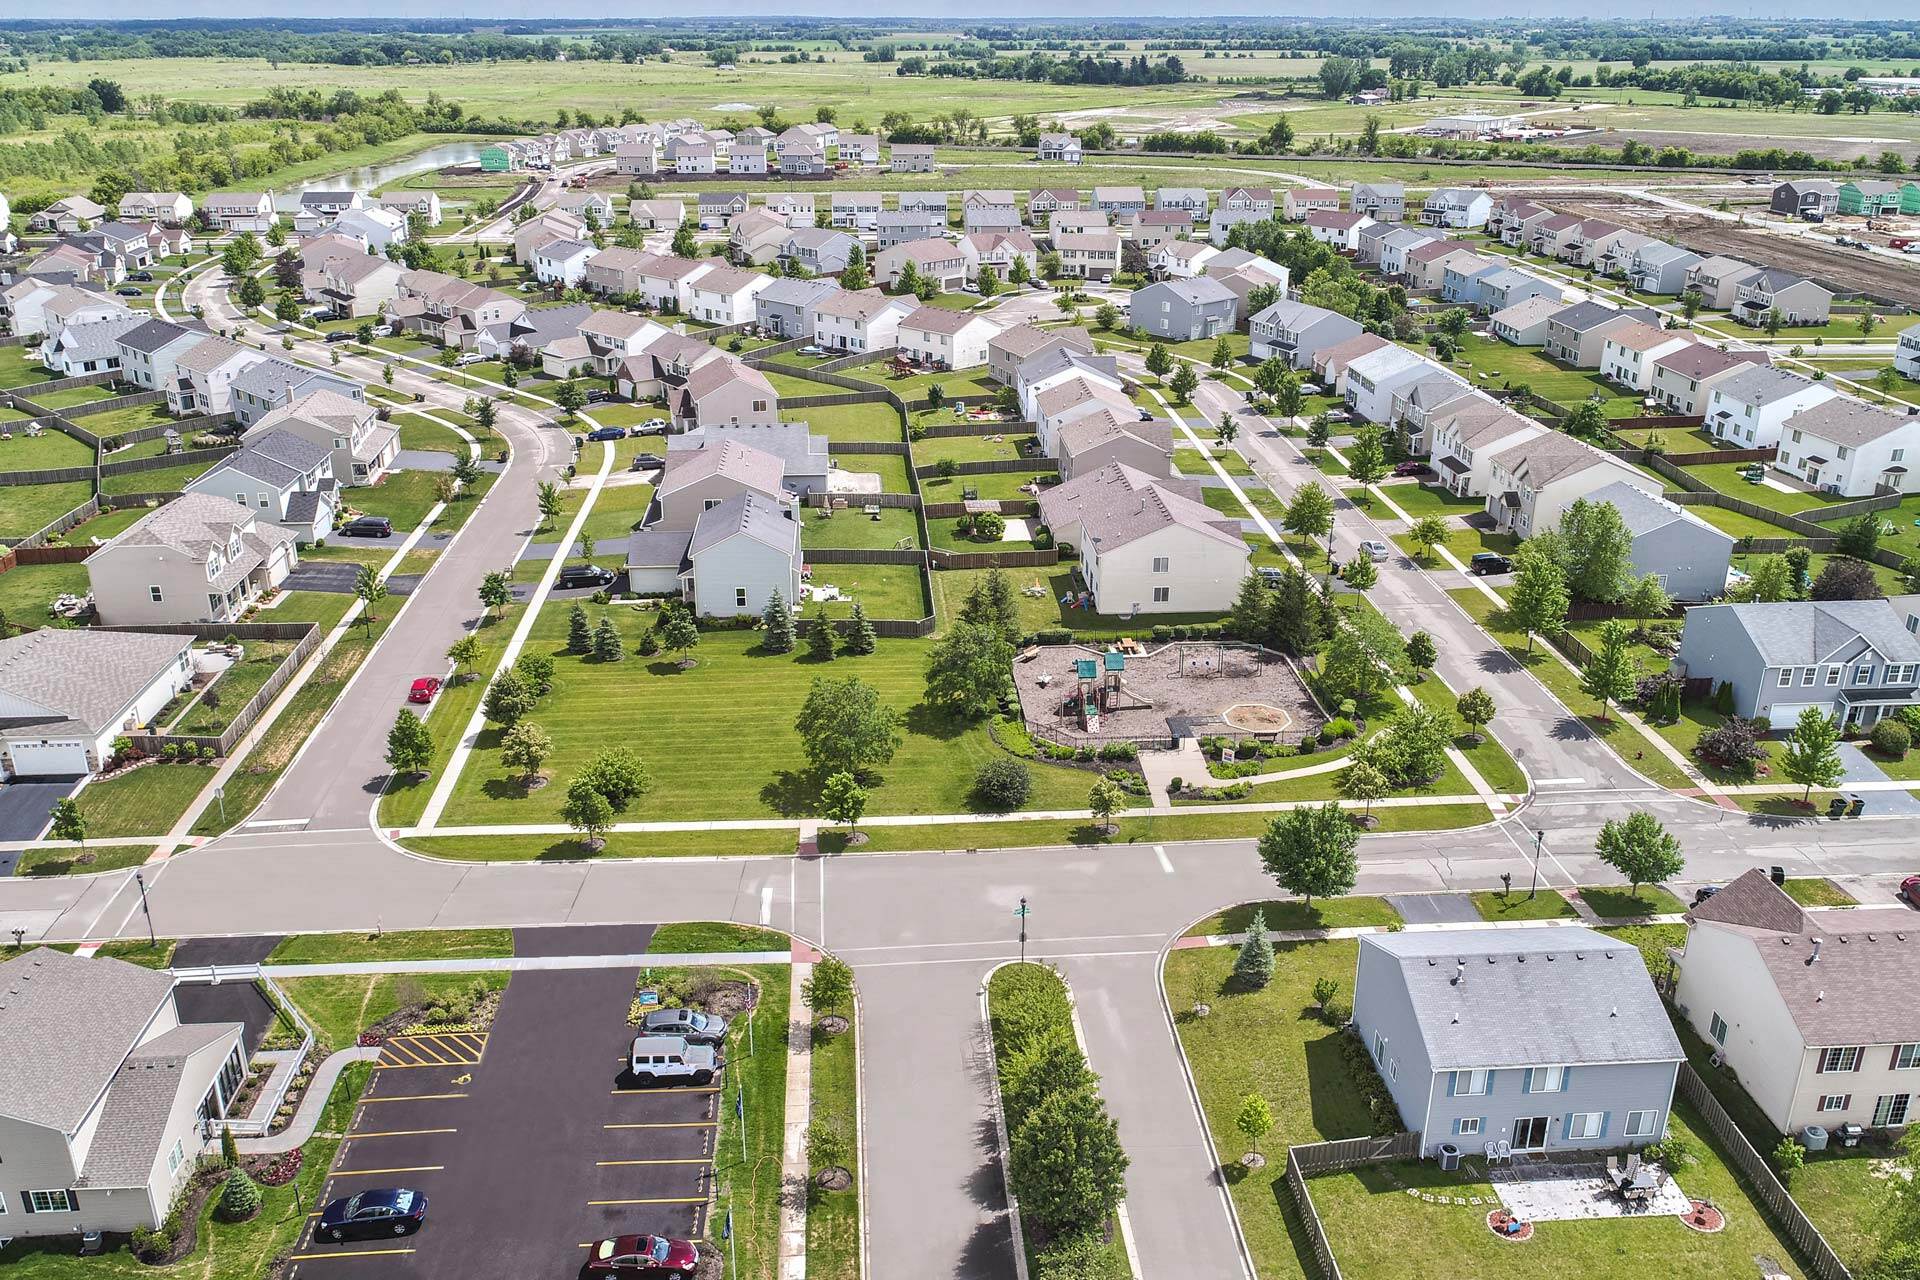
For exterior real estate photography, two shots should be allocated for a straight-on picture of both the front and back of the property. These photos, particularly the front exterior image, are your hero shots. A hero shot is one that best exemplifies what your product (in this case, a property) has to offer. So it is vital to get these photographs. The only exception would be in the rare case that a tree or another large object obscures the image.
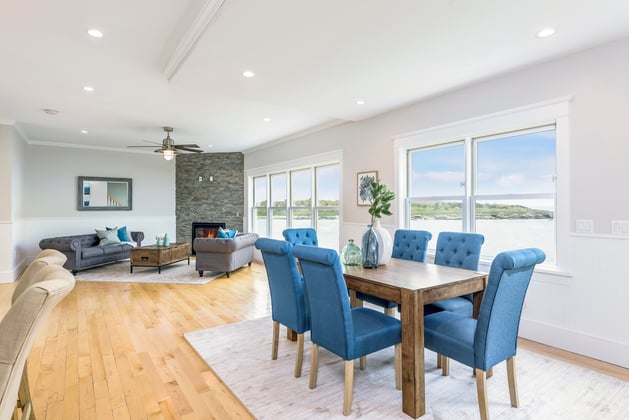
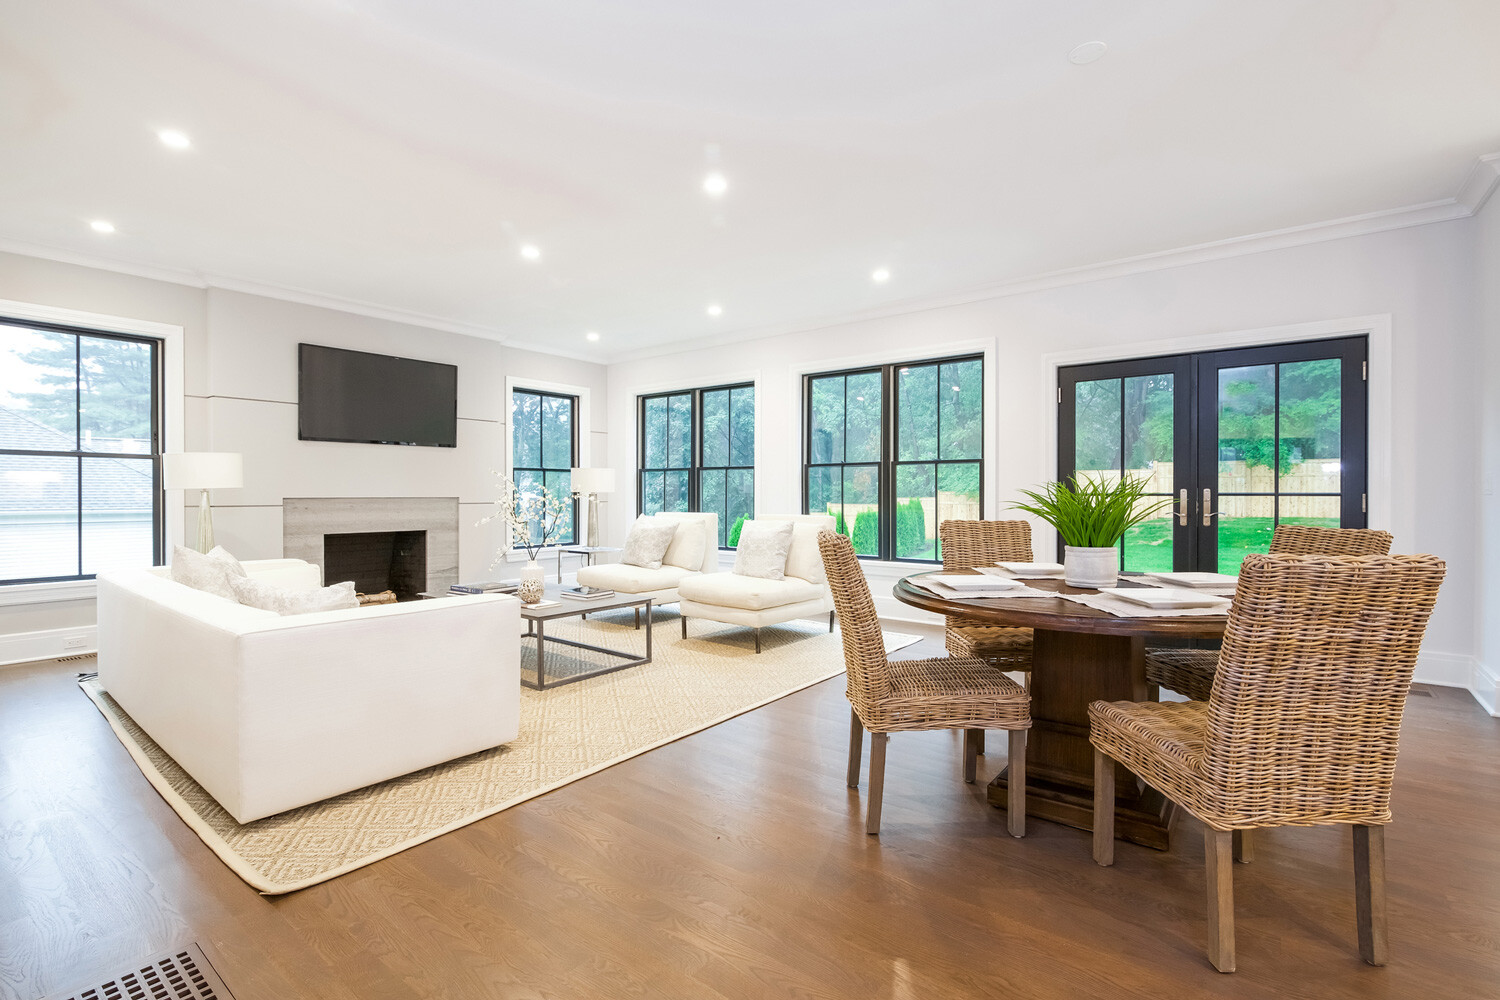
Back inside the house, not every room requires the same attention. You may need to offer two pictures of the living room from different angles in your real estate photography packages. Meanwhile, bathrooms are not a focal point, and you should only capture one angle of this room. Some home sellers and agents will want you to take pictures of the garage and utilities throughout the property. But normally, you will not photograph these features. Limiting the number of photos you take allows you to edit faster and offer a quick turnaround time among your real estate photography services.
2. Use a Tripod
Because you’re taking so few pictures, you want each of them to be crisp, clear, and professional-looking. Tripods stabilize your view and help avoid distortion. And as professional photographer Ann Young discovered, they help a lot when taking photos under non-ideal circumstances. Young’s assignment was to photograph a house at night with lots of Christmas lights, and every shot she took was blurry. “After that, I realized that in order to get the best realty photography at night or in poor lighting conditions,” writes Young, “you need to use a tripod.”
Tripods are especially useful if you plan on taking multiple exposure images. Combining exposures allows you to get the best features from each one into a single image. Tripods ensure that each exposure lines up perfectly.
3. Bring More than One Flash
Sadly, no property is customized for a photographer’s needs. We wish they were, though. That means parts of the house will have different levels of lighting you’ll need to adjust to for interior real estate photography. Take, for example, Ann Young’s assignment from tip #2. Some rooms were showered in Christmas lights while others were much darker. Bringing more than one flash to a property prepares you for more possibilities.
You should also consider the size and location of each space and how that will affect the type of flash you use. A smaller space, like a closet, will require one kind of flash. Meanwhile, a larger space with more natural lighting, like a living room, will need another.
4. Time of Day Matters
The right lighting will make the property more eye-catching to potential buyers browsing online. For exterior real estate photography, in particular, you’ll want to consider how much natural lighting there is and from what direction it is coming. The sun should always be behind you when taking an outdoor photo of the property. Otherwise, the house will look dim and uninviting. Potential buyers might also be unable to see features of the house they care about, like the condition of the grass and shrubbery. You may have this same problem on overcast days unless you have access to advanced lighting options in editing.
5. Turn on All Interior Lights and Open Blinds and Curtains
Back inside the property, you still want to take advantage of natural lighting. Keep blinds and curtains open throughout the house for interior real estate photography. The extra light makes each room’s best features more clear, and you may even get some saturated shadows, which are visually striking. If certain rooms, like a spare bedroom, are a little bit smaller, opened curtains are also an easy way to add perceived space.
But not every room has phenomenal natural light. Again, try as we might, we can’t get people to build houses specifically for photographing. That’s why it is also important to turn on every light inside the property. Rohan Arora of Pixpa reminds photographers that the color of outdoor and indoor lighting can clash. “If necessary and time permits,” Arora recommends, “color match interior lights to the outside color.”
6. Use a Wide-Angle Lens
Your aunt and uncle probably think they have a wide-angle lens on their iPhone with the “panorama” feature. But as an experienced photographer, you know the unique benefits of a wide-angle lens. It allows you to capture more of your surroundings without having to back farther away. You gain the ability to convey an accurate sense of detail and space in every room of the property. Plus, unlike your aunt taking a panorama picture, you won’t distort the image with the slightest movement.
Tanya Goodall Smith of WorkStory Corporate Photography has a few recommendations for wide-angle lenses. “My go-to lens these days is the Canon 24-70mm f/2.8 markII,” she writes in an SLR Lounge article. She also recommended the Canon EF-S 10-18mm f/4.5-5.6 for photographers on a budget.
7. Shoot Horizontally
Vertically-oriented photographs inside a property will show potential buyers too much of the ceiling. Instead, flip that camera the other way and return viewers’ attention to a spacious bedroom or a living room with great natural lighting. Just like you want to use a wide-angle lens to see the most in every room, horizontal photographs also allow you to maximize potential buyers’ views.
Another benefit of taking only landscape-oriented photos of a property is it makes the online listing or paper flyer look consistent and professional. Many of your clients will be real estate agents. The first way they can convince people that a property is worth the investment is with a nice, expensive-looking listing.
8. Use Advanced Editing Techniques
The two most important parts of editing real estate photographs are 1) avoiding distractions and 2) accentuating the property’s best features. Photos should be edited consistently so that potential buyers are not distracted by the editing process. Brightness, contrast, saturation, and other variables should be as uniform as possible. Real estate photographs are not the place to get experimental with the image. “[Y]ou should never start HDR toning and going overboard with settings like sharpness or saturation,” says AH360. “The people looking for a home don’t want to know what it would look like in a Marvel Comic, they want to know where they are going to be calling home for the foreseeable future.”
Whenever possible, editing should be another opportunity to spotlight the features of the property potential buyers will love most. Green grass and blue sky editing can make a house with an exceptional front or backyard stand out even more. If you can offer these editing options, they’ll put you a step ahead of other local real estate photographers.
9. Quick Turnaround
Here’s the deal: most agents and landlords needed twenty of the best real estate photographs possible before they even hired you to do it. The “for sale” sign in the front yard is not as helpful to agents as it was a few years ago. The majority of home buyers and renters look for properties online. That means before an agent or a landlord can market a property, they need a high-quality image for online listings and flyers. The longer they go without these pictures, the longer the property stays off the market, and the more money the real estate agent or landlord loses.
As always, it is important to be on the same page as your client. Make sure deadlines are clear for both parties. Try to respect the quick turnaround time most real estate agents and landlords will need. But never offer something you cannot fulfill.
Executing these 9 best practices in real estate photography can seem overwhelming–that’s why it’s best to leave it to the pros. Real estate photography is a fast-paced environment with its own set of challenges. But if you come prepared with the right equipment (like a tripod and multiple flashes), stay on the same page as your clients with deadlines and shot lists, and do what you can to accentuate the property’s best features, you’ll be off to a great start. Good luck!
